How to Prepare Your Property Before Demolition Day
Before demolition day, we must confirm all utilities—electricity, gas, water, NBN—are formally disconnected by qualified providers to eliminate hazards. We clear interior belongings early, including hidden spaces, and identify salvageable materials for safe removal. Outdoor areas must be cleared for machine access, and neighbours should be informed of expected noise. Properties built before 2004 require asbestos surveys with licensed removal if needed. Securing all permits and documentation beforehand is critical. Keep following for a complete, detailed preparation approach.
Disconnect All Utilities and Services Before Demolition
Safety starts with disconnecting all utilities and services before demolition begins. We must guarantee all live electricity and gas lines are formally disconnected at the street by providers like Energex or Urban Utilities, preventing hazards from live gas lines during demolition.
Equally critical is the formal disconnection and removal of water, sewer, NBN, and phone lines to mitigate risks from buried cables beneath debris. In New South Wales, demonstrating proof of disconnection is mandatory for council approval, requiring detailed plans covering electricity, gas, water, NBN, and even solar panels and rainwater systems.
We should verify with our demolition contractor that all utilities have been fully disconnected to safeguard against hazards and unexpected charges on demolition day. This precise, safety-focused approach guarantees thorough preparation before any machinery arrives.
Remove Furniture, Belongings, and Valuable Items Early
Before demolition day arrives, we need to thoroughly clear the property of all furniture, appliances, heirlooms, and fixed fixtures such as light switches and cabinets.
Early removal is critical since once demolition begins, items inside the structure can’t be considered safe or retrievable.
We must inspect all hidden areas — attics, basements, and storage closets — to guarantee no belongings, like toolboxes or paintings, are missed.
Taking valuable photos of packed sentimental items helps streamline identification during unpacking and protects against loss.
We also recommend multiple walkthroughs of the property to confirm nothing remains, including subtle fixtures like old hot water units or letterboxes.
Donating or selling unneeded possessions reduces debris volume and enhances safety by minimizing onsite clutter prior to demolition.
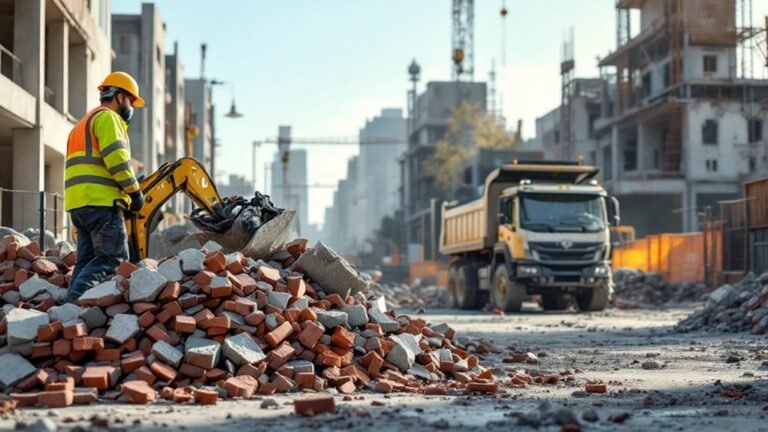
Organize Salvageable Materials to Save Time and Costs
Let’s identify high-value salvage items like floorboards, bricks, and leadlight windows early to streamline removal and reduce demolition delays.
We should plan organized salvage collection zones, clearly marking areas to keep materials safe from damage and loss.
Coordinating with your contractor guarantees the salvage process fits efficiently within the overall job timeline, minimizing labor and disposal costs.
Identify Valuable Salvage Items
How can we maximize the value recovered from a demolition site while keeping the process efficient? Identifying valuable salvage items early is essential. We must conduct multiple walkthroughs to locate materials worth preserving, such as floorboard reuse opportunities and period fireplace salvage.
To do this safely and effectively, consider these steps:
- Inspect the property thoroughly to pinpoint high-value salvageables like bricks, tiles, leadlight windows, and custom light fittings.
- Consult with your builder or demolition contractor during quotes to incorporate salvage plans and avoid workflow disruptions.
- Remove and store salvage items securely off-site or in designated non-demolition zones to prevent damage when demolition machines arrive.
Plan Organized Salvage Removal
Maximizing recovery of valuable materials hinges on a well-executed plan for salvage removal. We begin with a thorough salvage assessment alongside professionals to identify feasible items like floorboards, doors, and period fireplaces.
It’s critical to distinguish materials worth reclaiming versus those that incur excessive labor costs. Coordinating with builders or specialist salvage companies guarantees safe extraction and designated material storage, either off-site or in marked non-demolition zones.
Requesting contractor quotes detailing significant salvage items helps sequence demolition to protect these assets. Making informed, calm decisions well before demolition prevents rushed errors that could increase complexity and waste resources.
This organized approach prioritizes safety, efficiency, and cost savings in pre-demolition preparation, ultimately streamlining the entire process and preserving valuable components.
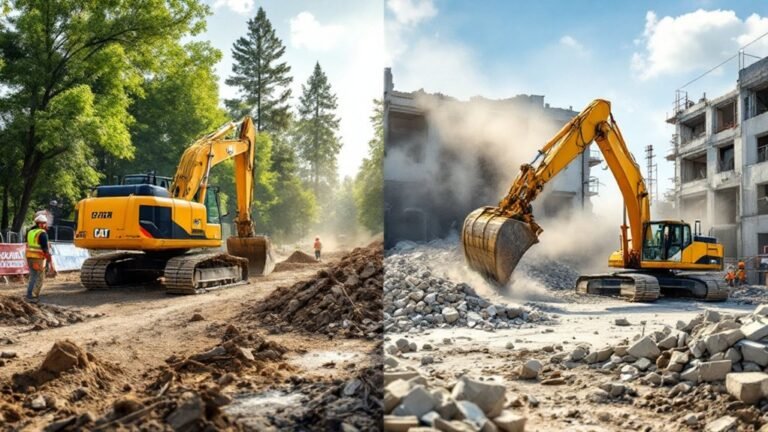
Clear Outdoor Areas to Ensure Safe Access for Machinery
Before demolition day arrives, we need to thoroughly clear outdoor spaces to provide safe, unobstructed access for heavy machinery. Vegetation clearing is essential—overgrown plants can hinder equipment movement and create hazards.
We must also guarantee fence access: all gates should be opened and fully operational to allow smooth entry and exit.
Additionally, loose items like play equipment, temporary sheds, or stored materials must be removed or consolidated.
To guarantee safe access, let’s focus on these key steps:
- Remove or trim any vegetation blocking machinery routes.
- Open and verify fence and gate functionality for seamless entry.
- Clear yard items, vehicles, trailers, and debris well away from work zones.
These measures prevent delays, minimize risks, and maintain a safe demolition environment.
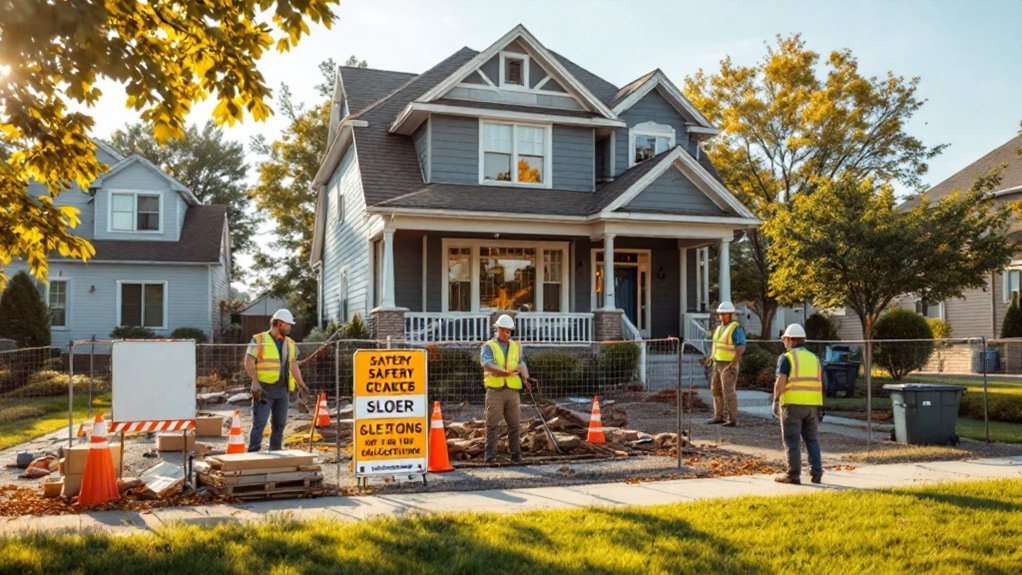
Inform Neighbours and Manage Noise Expectations
Clearing outdoor areas thoroughly sets the stage for a smooth demolition, but keeping neighbours informed is equally important to maintain safety and community goodwill.
We should notify neighbours at least 48 hours in advance, complying with council permit requirements to provide written notice within a specific radius.
Since the noisy mechanical phase for a typical single-storey brick home lasts only 5 to 10 working days, this helps neighbours anticipate and manage disruption.
Effective noise mitigation includes communicating expected noise levels and scheduling.
If the property borders a busy road, coordinating contractor-provided traffic control with local authorities is essential for public safety.
Continuous dust suppression via targeted water sprays further reduces complaints.
Offering neighbours a personal heads-up guarantees transparency, facilitating smooth relations throughout the project.
Identify and Safely Handle Asbestos and Other Hazards
Before demolition, we must have licensed professionals assess the property for asbestos and other hazards to guarantee complete safety.
Proper asbestos testing and removal follow strict regulatory procedures, requiring certified personnel and clearance certification. Additionally, thorough hazard identification and removal of unstable structures or underground tanks are critical to prevent delays and protect all involved.
Asbestos Testing And Removal
We must conduct a hazardous materials survey on any property built before 2004 to identify asbestos contamination—a critical step that guarantees safety and legal compliance.
Licensed professionals perform asbestos removal following SafeWork NSW guidelines, ensuring proper containment and disposal.
After removal, obtaining a clearance certificate confirms the site is free of asbestos before demolition starts.
Key steps include:
- Sealing off affected areas and using specialized equipment during asbestos removal.
- Transporting asbestos materials in sealed containers to approved hazardous waste facilities.
- Securing a clearance certificate to legally validate the absence of asbestos contamination.
Engaging licensed asbestos removal specialists with both asbestos and demolition licenses is mandatory to adhere to safety and regulatory standards.
Hazard Identification Procedures
Though asbestos is a primary concern in older properties, it’s essential that we thoroughly identify all potential hazards before demolition begins. Conducting thorough site mapping combined with detailed risk assessment helps us locate and evaluate materials such as lead paint, old fuel tanks, underground pits, and unstable structures. These hazards require careful handling and professional removal to guarantee safety and compliance.
| Hazard | Identification Method | Required Action |
|---|---|---|
| Asbestos | Hazardous materials survey | Licensed removal, sealed containment |
| Lead Paint | Professional testing | Certified removal |
| Underground Tanks | Site mapping and inspection | Safe extraction by specialists |
| Unstable Structures | Structural assessment | Secure or dismantle safely |
Licensed Professional Involvement
Identifying hazards like asbestos or underground tanks is only the first step; their removal and management require licensed professionals to guarantee safety and regulatory compliance.
For properties built before 2004, qualified assessments must confirm asbestos presence, with removal conducted by certified experts. This process involves sealing off areas, specialized equipment, and transporting materials securely to licensed waste facilities.
Other hazards, including old oil tanks and unstable structures, also demand expert certifications to guarantee proper handling.
Key steps include:
- Commissioning licensed professionals for thorough hazardous materials surveys and qualified assessments.
- Guaranteeing asbestos removal provides clearance certificates confirming contamination elimination.
- Engaging structural and electrical experts to remediate flagged risks before demolition equipment arrives.
These measures protect workers, meet legal requirements, and avoid costly delays.
Secure All Necessary Permits and Paperwork in Advance
Before any demolition work begins, securing all necessary permits and paperwork is critical to guarantee legal compliance and safety. We must first understand permit prerequisites, including obtaining a demolition permit from a registered building surveyor.
In South East Queensland, additional approvals may be required for heritage listings or bushfire zones. For properties built before 2004, submitting a hazardous materials survey and asbestos report is mandatory, alongside licensed removal certificates.
Incorporating a Waste Management Plan detailing material recycling is essential, as is providing proof of utility disconnections—electricity, gas, water, and NBN—from qualified providers.
Utilizing a Complying Development Certificate can expedite approvals by bypassing lengthy council assessments if criteria are met. Adhering to the application timeline guarantees all documents are in place well before demolition day, preventing legal or safety complications.
Final Thoughts
By carefully disconnecting utilities, removing valuables, and organizing salvage materials, we greatly reduce risks and streamline the demolition process. Clearing outdoor areas and communicating with neighbours helps guarantee everyone’s safety and manages noise disruptions effectively. Identifying hazards like asbestos and securing proper permits in advance are critical steps we must never overlook. Together, these precise preparations create a safer, more efficient demolition day, minimizing delays and protecting both property and people involved.