Garage and Shed Demolition: What to Check First
Before we start demolishing a garage or shed, we first confirm all necessary permits and check for asbestos, especially in older buildings. Then, we inspect structural stability, ensuring foundations and framing are sound and utilities disconnected for safety. We identify salvageable materials and plan a controlled sheeting and frame removal sequence to reduce hazards. Budgeting for trailer rentals and disposal fees upfront helps avoid surprises. If you keep going, you’ll uncover essential steps for a safe, efficient demolition process.
Check Local Regulations and Disposal Requirements
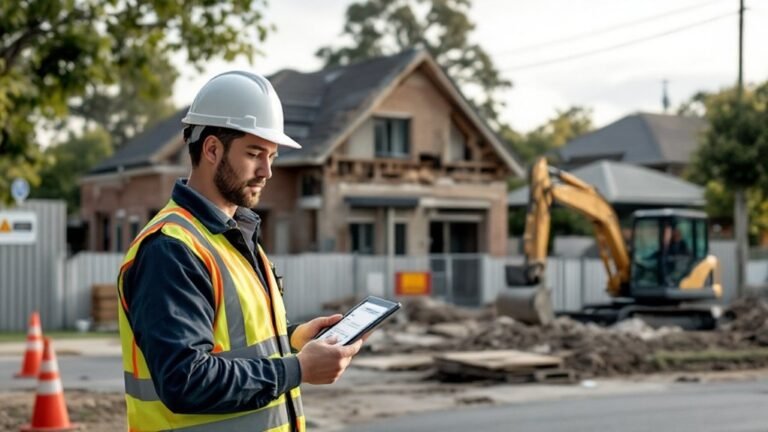
Before we begin any demolition work, it’s essential that we thoroughly check local regulations and disposal requirements to guarantee compliance and safety. This starts with diligent permit research to determine if demolition permits or special approvals, such as asbestos clearance certificates, are necessary.
We also need to identify licensed waste or recycling facilities authorized to accept construction debris. Understanding fees, especially those tied to residency status at transfer stations, helps us budget appropriately.
For debris transport, renting a dumpster trailer or using a U-Haul truck provides efficient hauling options, reducing trips and ensuring waste is taken directly to permitted disposal sites.
Inspect Structural Stability Before Starting
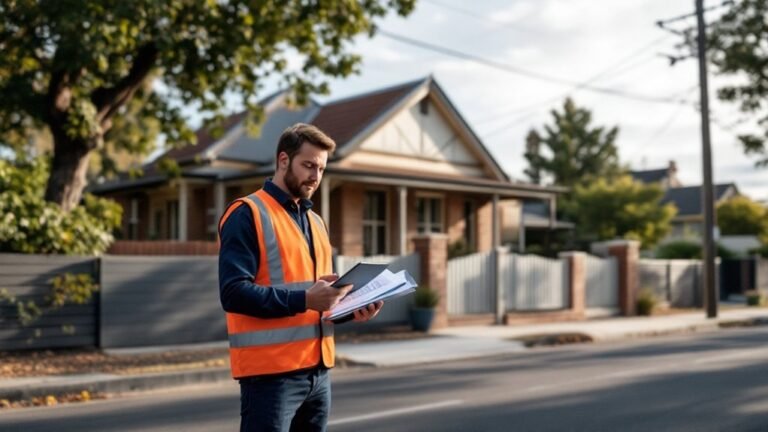
Having confirmed all necessary permits and arranged for proper debris disposal, our next step is to thoroughly inspect the structural stability of the shed.
We begin with a foundation anchor check to guarantee the bottom plates are securely fastened and not rotted or detached, which is vital before any cutting.
Next, we assess the roof and wall framing for signs of rot, rust, or termite damage, as weakened 2x4s increase load shifting risks and can cause unpredictable collapse.
We also verify that all wall sheeting remains securely fastened to prevent hazardous falls and maintain balance.
Finally, we observe any leaning or sagging, considering bracing if needed, and identify heavy items inside that might shift the load unexpectedly during demolition.
Safety depends on addressing these factors before starting work.
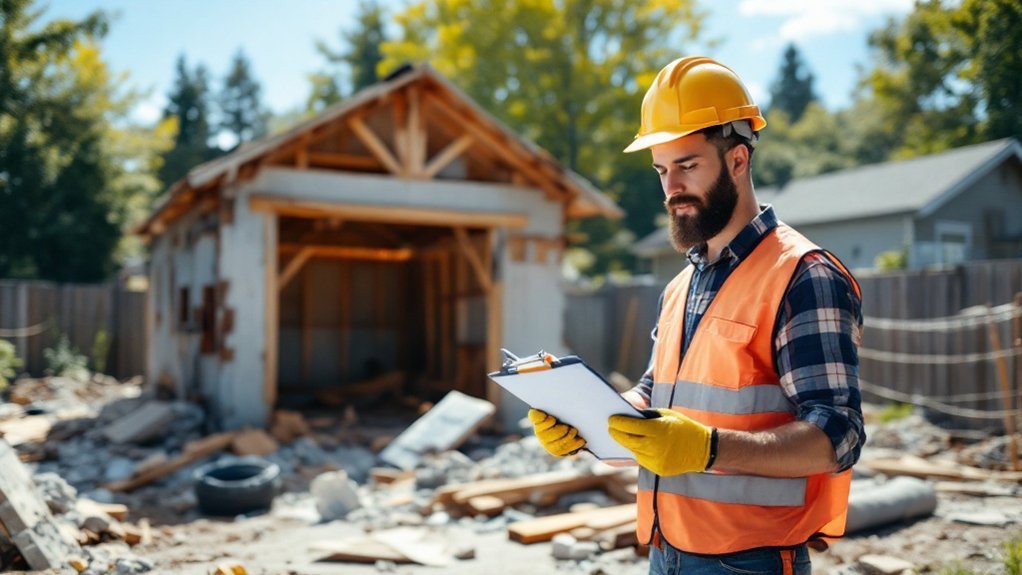
Identify Salvageable Materials Inside Your Shed or Garage
When clearing out the interior of a shed or garage, it’s essential to identify salvageable materials early in the process. We start by carefully salvaging windows to avoid broken glass hazards and preserve their value for reuse. Next, we inspect benches, often chopping them off with a saw to thoroughly assess their condition. Sturdy benches in decent shape are set aside for repurposing, reducing waste and supporting future projects.
This practice both promotes safety by preventing unexpected debris and cuts down on disposal costs—our experience with a 10×14 shed needed just two trailers plus a pickup bed of trash thanks to strategic salvage efforts. Identifying and preserving useful components like benches and windows streamlines the entire demolition process and benefits your project’s budget.
Plan the Order for Wall Sheeting and Frame Removal
After securing salvageable materials like windows and benches, we turn our attention to systematically removing the wall sheeting and framing. Carefully planning the sheeting sequence and frame sequencing guarantees safety and efficiency.
We begin removing wall sheeting in manageable halves from the bottom up, which improves handling control. Using a pry bar inside to loosen sheets and a sawzall to cut nails speeds the process.
Once all sheeting is removed, we address frame removal by cutting 2x4s at the base to control the structure’s fall.
Key points to remember:
- Remove sheeting in small sections, working roof to walls
- Use proper tools like pry bars and sawzalls for efficiency
- Delay cutting framing supports until sheeting is fully cleared
This method reduces risks and maintains stability throughout demolition.
Prepare Tools and Budget for Trailer and Disposal Fees
Before we begin demolition, let’s budget for trailer rental and disposal fees to avoid surprises. Renting a dumpster trailer typically runs around $60 per day, plus transfer station fees of about $50 per trip, so planning for at least two trips is essential.
Being mindful of these costs and proper disposal locations keeps the project safe and compliant.
Trailer Rental Costs
Trailer rental is a key expense to factor in when planning a shed demolition project. Depending on trailer availability, you may need to reserve your equipment early to match your rental duration and project timeline.
For example, demolishing a 10×14 shed required two full trailers, rented from Home Depot at $60 per day over two days.
To manage costs efficiently, consider:
- Confirming trailer availability ahead of time to avoid delays
- Selecting rental duration aligned with your demolition schedule
- Exploring alternatives like dumpster trailer rentals or U-Haul trucks for debris transport
Being organized with trailer arrangements not just controls expenses but also guarantees a safer, smoother workflow during debris hauling. Planning this aspect thoroughly is indispensable before beginning demolition.
Disposal Fee Planning
Managing debris disposal costs is just as important as securing the right rental equipment. Before demolition, we must plan for trash disposal, including understanding weight fees at county dumps and residency requirements. For example, a 10×14 shed demolition involved $120 for a trailer rental and $100 for transfer station trips. Renting a dumpster trailer often saves money by reducing trips, while professional removal averages $1,000 per load. Here’s a quick cost analysis:
| Disposal Method | Cost Components | Estimated Total Cost |
|---|---|---|
| Trailer Rental | $60/day x 2 days | $120 |
| Transfer Station Trips | $50 each x 2 trips | $100 |
| Dumpster Rental | One fee, fewer trips | Varies |
| Professional Removal | Junk service per load | $1,000 |
| Weight Fees | Based on debris weight | Variable |
Being safety-focused and compliant guarantees smooth disposal.
Manage Asbestos Risks and Safety Precautions
Asbestos inspection protocols are a critical first step when dealing with older garages and sheds, as these structures often contain hazardous materials that pose serious health risks.
Before demolition, a certified team must identify any asbestos-containing materials to guarantee safe removal by licensed contractors.
Proper safety measures include:
- Use of PPE such as respirators, gloves, and disposable coveralls to prevent exposure
- Sealing asbestos waste in approved bags or thick plastic for licensed disposal
- Thorough HEPA vacuuming and PVA encapsulant treatment after removal
Only after a final inspection confirms the site is free of asbestos fibers will a clearance certificate be issued.
Following these protocols protects everyone involved and guarantees compliance with safety regulations throughout demolition and cleanup.
Decide When to Tip Over the Structure Safely
Before we decide to tip over the structure, we need to carefully assess the wall sheeting and framing to control the fall direction and maintain safety.
Complete sheeting removal is essential before tipping, as any remaining panels can cause the structure to lean unpredictably.
We start sheeting removal from the roof down in small sections, ensuring the frame remains stable.
Cutting the bottom of the 2x4s lets the wall fall over safely, but once half the sheeting is removed, the walls become unstable, so extra caution is necessary.
Always confirm that utilities are disconnected and safety barriers are in place.
Compare DIY Costs Versus Hiring Professionals
When comparing costs, DIY demolition of a 10×14 shed typically runs around $250 to $260, covering trailer rental, disposal fees, and necessary tools.
Professional services often charge $1,000 or more, which includes labor and full debris removal, though occasionally some offer unusually low rates that warrant scrutiny.
Understanding these differences helps us make informed, safe choices that balance budget with convenience.
DIY Expense Breakdown
Demolition costs can vary dramatically depending on whether we tackle the project ourselves or hire professionals. For a typical 10×14 shed, DIY expenses run about $250 to $260, far less than professional rates.
Key DIY costs include:
- Trailer rental (~$120 for two days) and transfer station trips (~$100), both essential for debris disposal.
- Saw blade costs and replacement parts ($30-$40) to handle cutting through nails and sheeting safely.
- Optional dumpster trailer rental to reduce labor and multiple trips, optimizing time and effort.
It’s vital we factor in these costs carefully to maintain safety and efficiency. Being prepared with proper tools and budget helps us avoid surprises and guarantees a professional approach when handling demolition ourselves.
Professional Service Pricing
After breaking down the expenses involved in a DIY shed teardown, it’s important we weigh those costs against what professional services typically charge.
While DIY demolition expenses, like $250 for trailer rental and transfer station trips, seem manageable, professionals often charge around $1,000 for a single trailer load of debris removal.
This cost includes labor and disposal, sparing us from hidden fees linked to permits or additional equipment.
However, some services quote unexpectedly low fees, such as $50, prompting us to question their thoroughness and safety standards.
In worst case scenarios, inadequate removal can lead to safety hazards or extra costs.
Renting a dumpster trailer at $60 daily could reduce trips and hidden charges, making a hybrid approach worth considering depending on project scale and safety priorities.
Final Thoughts
Before you start demolishing your garage or shed, let’s make sure we’ve checked local regulations, assessed structural stability, and identified any salvageable materials. Preparing the right tools and budgeting for disposal fees will help keep the process smooth. We must prioritize safety by managing asbestos risks and carefully planning the demolition order. Finally, weighing DIY costs against professional help guarantees we make informed, safe decisions every step of the way.